Research/Inspiration

Digital Tutors: Intro to Camera Action

Setting up Camera Rig

  • create locator
  • create camera
  • parent camera to locator
  • start animation from the base.
  • break tangents to stop any action going through the floor or to change just one side of the key on the graph editor.

Animating a Fly Through

  • camera follow position of object. select object, select locator, constrain, point constrain. move camera back.
  • camera settings, resolution gate
  • add rotation keys when things are in the way, and set the first key quite a few frames before so there is smooth interpolation.
  • pull camera back when the object gets faster. shift w and shift e to lock in pose.
Standard
Research/Inspiration

Using Camera with aim following a motion path

Attaching a camera with aim to motion path

  • Create cv curve tool
  • create camera, camera with aim. go to window hypergraph hierarchy.
  • go to camera group (options display hidden nodes if cant see).
  • reselct only camera 1 aim. drag to side.
  • window, hypergraph connections. move camera 1 node. delete constraint rotates.
  • select camera shift select curve, go to motion path and attach to motion path.
  • open outliner, select camera group, shift camera aim,
  • reopen hypergraph and select input and output connections. middle mouse camera 1 group onto camera 1 node and click other. go to constrain rotate and go to rotate on right side. something already attached to this.
  • select camera go to rotate xyz right click break connections.
  • constrainr x to rotate x etc


Standard
Research/Inspiration

Camera Movements with Still action

As we had very little time left, Clare suggested we try out something like this- where the camera does the work and tells more of a story alongside our voiceover.

How the camera moves to show that the characters are posed and in 3D space:

  • Camera acts like a being as it moves and swerves around the characters.
  • There is smoke in the background and particles. This might be nice to have within our own- some little pieces of rock and dust?
  • The camera sometimes moves between peoples arms together etc.
  • I like how the camera moves backwards and up at the end

The last of Us

I think it was Natasha that mentioned that they try this in the last of us. I did some research and found this:

  • Subtle camera movement.
  • Steady pace for the camera throughout.
  • steady downward and sideways motion to show that the stills are 3d.
Standard
Research/Inspiration

Digital Tutors: ZRemesher

I could not get the polypaint options to work within zremesher so I decided to watch a tutorial from digital tutors to learn more.

  • curves strength should be turned up (70) to follow your curves lines more for better topology.
  • the curves can be simple lines for the topology to follow.
  • can make areas more dense with polygons with polypaint. fill model with white go to a standard brush and turn on rgb, turn off zadd and zsub.
  • blue creates low density. red creates higher density. set the colour in the colour density tab and paint on after filling it with white.
  • can smooth out the colours to go to a gradual density change.


Standard
Research/Inspiration

Zbrush-x normal pipeline

  • uv map- guv tiles.
  • have white selected
  • go to texture option at top, set res to 2048. select new.
  • go to high res mesh. go to texture map. create new from polypaint. clone it.
  • flip vertically under texture option at top and export
  • turn texture off.
  • export high res as obj.
  • add high mesh in xnormals. where it says base texture to bake add your body colour psd file.
  • low res obj put in low res in xnormals. set both ray distance to two in low res as this stops arms casting down on belly. average normals if not done in maya.
  • 512 by 512. blank purple background colour.
  • bake out normal map. 2x aliasing. edge padding 4. bucket size 32.
  • bake out base texture. background colour black. x normals bakes this to game res uvs you created in maya.
  • bake out ambient occlusion. background white. generate maps.
  • tools option. cavity map. grab body normals. create cavity map. overlay in photoshop.

Make sure mesh scale is 1 otherwise the maps won’t come over well.

Standard
Research/Inspiration, WIP

Splitting Groups and Closing Holes

I wanted to simply delete the bottom of my slopelander sculpt and add in just two small legs but it always sounds a lot more simple than it really is within zbrush.

I used ctrl, shift and alt to hide areas of my model that I wanted to split up into polygroups. I then went to subtools and select split to split these up into separate subtools. This left gaps in my models.

I used this tutorial to then fill in the gaps by closing the holes and merged the triangular polygons to create quads.

closingholes.jpg

Standard
Research/Inspiration

Gaining Control of Alpha Brushes

I started to find it extremely difficult to place my alpha brushes on my models as they were created on flat surfaces and started disappearing into the curved mesh of my models.

http://www.digitaltutors.com/tutorial/3108-Introduction-to-ZBrush-3#play-5612

http://www.digitaltutors.com/tutorial/1185-Quick-Start-to-ZBrush-Volume-2#play-29320

Reference guide: http://docs.pixologic.com/reference-guide/stencil/

Use stencil to make this happen.

  • With an alpha loaded, go to alpha palette , under transfer click make stencil, turn symmetry off, hold spacebar, click on mov section and drag over to model.
  • go to top to access brush setting. put on normal alpha (won’t affect stencil).
  • turn stencil off.
  • to opposite side, flip stencil- go to alpha menu and flip horizontal making sure its active.

IT WORKS!!!!! I GOT IT TO WORK!!!!! FINALLYYYYYYYYY

I also tried clicking wrap around under the stencil options so it would fit around my model.

http://www.digitaltutors.com/tutorial/3385-Texturing-with-ZBrush#play-1283

  • Can create layers of geometry which can be deleted etc.
  • Once you have stencil in place.
  • detail of the stencil is to do with the z intensity.
  • can push areas of the stencil in by inversing it and holding alt.


Standard
Research/Inspiration

X-Normals

Alec suggested I also look into x-normals for bring over normal maps to add the detail to the low poly sculpts so I downloaded it and watched this tutorial:

  • Once you have high and low poly model , uv unwrap each part. export low poly unwrapped as fbx.
  • export fbx high poly. (geometry-smooth groups, smooth mesh in options).
  • download x-normals.
  • drag meshes into specified areas.
  • go to tools, radius calculator (how deep normals are) click it, number will change, click stop and copy results.
  • baking options- bake out normals and aos. save as tga file. 512 size if its a game.
  • load maya. go to low poly mesh. right click, material attributes. click colour file, open occlusion. go to bump map, file, turn bump to tangent space normals, go to bump value option add image normals.
  • normals work better in marmoset (rendering programme).
Standard
Research/Inspiration, WIP

Practicing Zremesher

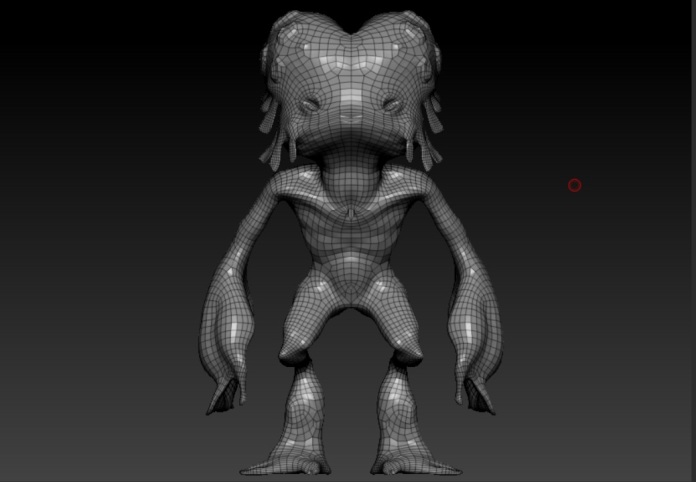
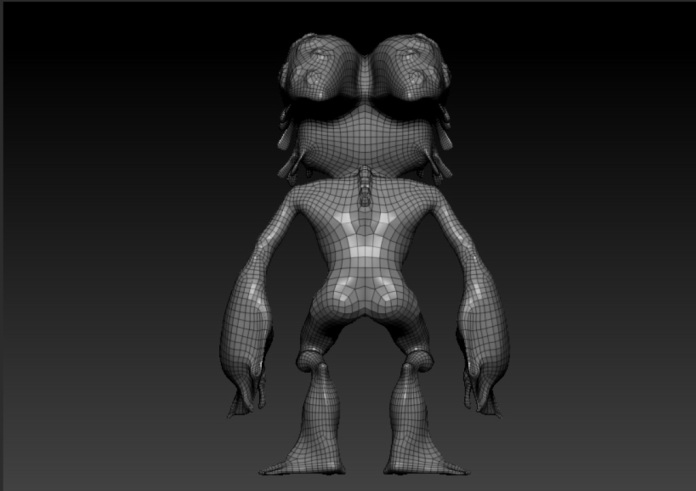
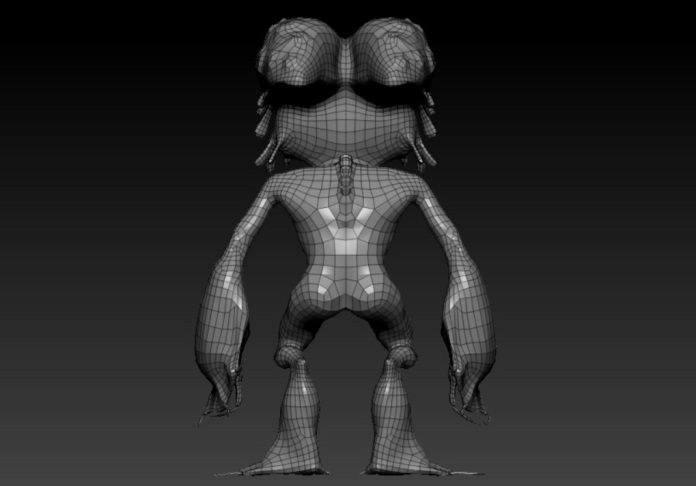
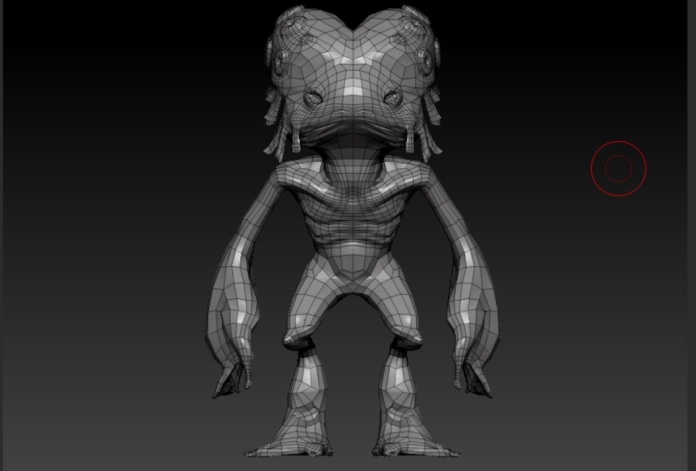
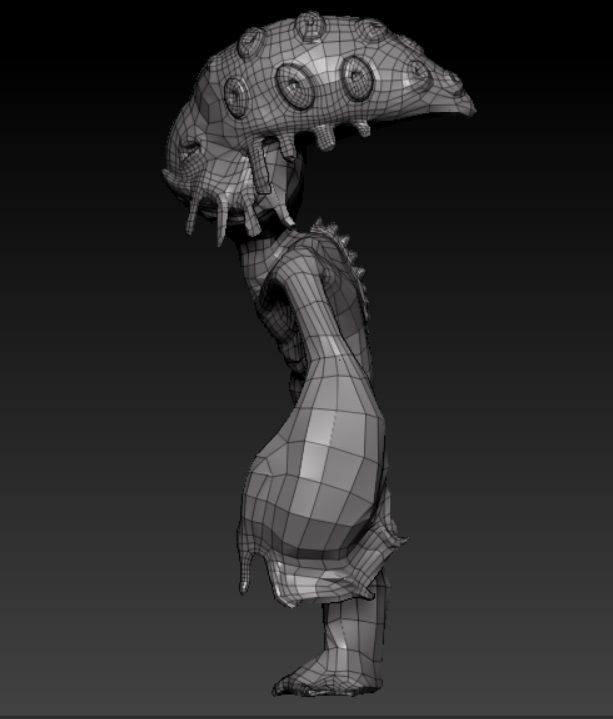
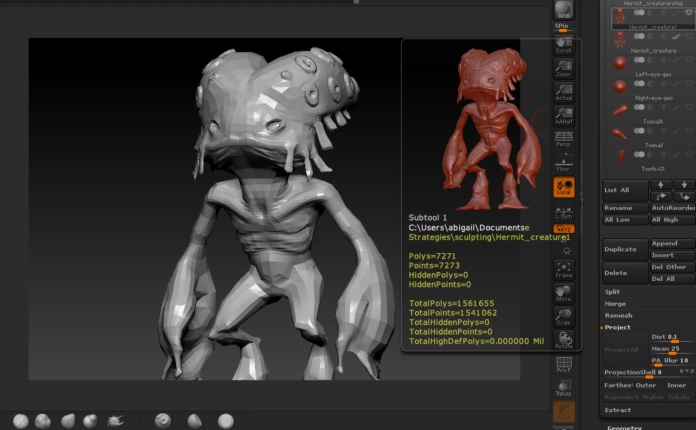
I needed to look into this to retopologise my next elite and slopelander sculpts to make them more ready for animation so I gave it a go on my old sculpt and it was a lot easier and more fun than I initially imagine.

Using the zremesher guides brush to create lines for the topology to flow- for the zremesher to follow.

Untitled.jpg

Using the polypaint tool to capture higher resolution and lower resolution areas. High is red, low is blue. After i selected zremesher from doing this it didn’t go to plan so I will have to try again sometime. It worked but the rest of my mesh changed too much.

Untitled_1.jpg

remeshed and retopologised at around 10k polygons:

Untitled_2.jpg

Untitled_3.jpg

Untitled_4.jpg

7k polys:

7k_01.jpg

7k_02.jpg

3rd attempt: 6.7k polys. The detail is more focused on the suckers and fingers.

fuckedd1.jpg

6.7k_01.jpg

6.7k_02.jpg6.7k_03.jpg

Projection process: I first projected my high detail mesh onto this. I will continue to subdivide my low res mesh and keep projecting until i have a retopologised high res mesh with the detail.

projection_01.jpgprojection_02.jpg

the details are still a little fuzzy:

projection_03.jpg

Standard
Research/Inspiration

Digital Tutors: Creating Game Characters with Maya and Zbrush

To be continued

mergedown: group subtools together

Splitting up the Character’s body:

  • Prepare geo to bring out of Zbrush. Resolution can be deleted from areas that cannot be seen.
  • isolate separate subtool to work on: preferences, edit, auto click allow to solo.
  • bring down subdivisions to level 1. turn on polyframe.
  • split arms and head to separate polygroups. ctrl shift, hide torso where it can’t be seen.ctrl shift drag to go to it. go to polygroups and group visible. do the same with the arms. ctrl shift click to select one polygroup. split the arms from each other. go to subtool palette- go to group split. levels are intact.
  • delete chest subtool. dial levels up for resolution of head and arms.

If subdivison levels aren’t there:

  • Delete lower subdivision levels. hide any other subtools.
  • open zremesher under geometry palette.
  • if you use default settings, the head topology won’t be good. to add guidelines for zremesher. go to brush and hit z. draw guidlines and activate symmetry.guide around nose, eye, mouth etc. use polypaint and use twice more density than tool. go to standard tool and select rgb. start painting. white area is basic mesh density. hit zremesher. less density is blue. high density is red.

http://docs.pixologic.com/reference-guide/tool/polymesh/geometry/zremesher/


Preparing and exporting the body:

  • can’t bring into maya with so many polygons. use decimation master.
  • export a low subdivision level for a basis for a low res geometry.
  • Bring to lowest level and export to maya.

polypaint

  • with low level selected go to uv map. get rid of this. create new uv map. group uv tiles.
  • go to level 6 subdivision. go to texture map, create new texture from polypaint. if its chunky go to uv map and create larger uv map and create new from polypaint. clone to texture palette and export it out. (texture, export).
  • work on decimation . click highest subdivision level and with uvs created,  go to zplugin, decimation master. keep uvs and freeze borders, pre process current go to decimation to get certain level of points, decimate current. go as low as possible to keep polypaint detail.
Standard